
Try adjusting the height of raised garden beds with these easy to follow instructions to optimize plant growth.
We started using raised beds about 3 years ago and have had great success with them! Raised beds allow you a greater opportunity to really have great soil to grow your plants. Because the soil is freshly composted or purchased it is practically weed free. It will stay weed free for a couple of years. But as the wind blows and birds fly overhead dropping seeds and such, you will eventually get weeds in the raised beds too. But because the soil in the raised beds is nice and loose, weeds are much easier to pull. And the roots of the weeds don’t get as long as they normally do.
When we first made our raised beds we made them 4 feet wide, 16 feet long, and 8 inches deep. After last year’s harvest we decided to make the beds a little bit deeper. 8 inches is enough room for roots to grow and get plenty of nutrients for the plant, But since our beds were only a total of 8 inches tall, it wasn’t quite 8 inches worth of soil in every part of the bed. Digging and planting and harvesting had caused the soil to be lower in some areas than others, and that caused some plants not to do as well as others.
So this year we are adding another 4 inches to the height of the beds. This will allow for more soil and better root growth for our garden plants.
If you are making raised beds for the first time, check out our simple instructions for making cheap and easy raised beds here.
Before Picture of Raised Garden Beds

You can see from the picture above the garden is in need of some attention! But you can also see the two raised beds we’ve used for the last few years connected by cattle panels. You can check out some other ideas for using cattle panels in the garden here.
Supplies For Adjusting the Height of the Raised Beds
Mark and I will be using the 2x4x16 pine boards to adjust the height of these raised beds. We used pine wood that was not pressure treated. The chemicals in pressure treated wood can seep into the soil and get soaked up by the roots of the plants.
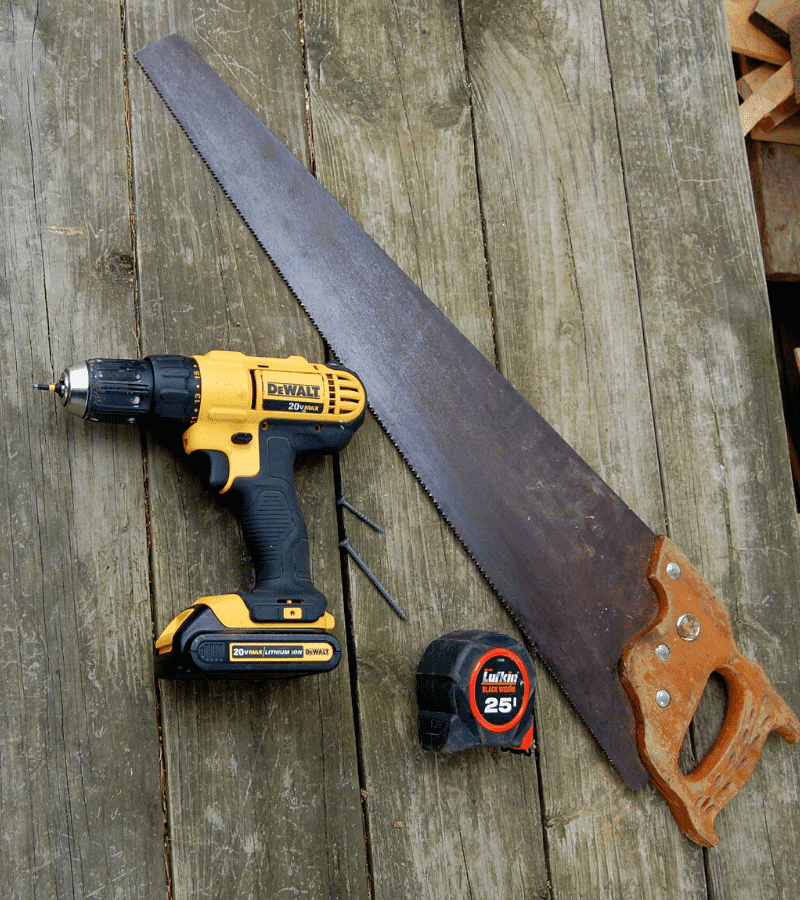
- 20 Volt Lithium Dewalt Drill
- Tape Measure
- 1 5/8” Deck Screws for attaching supports to new and old sides of bed
- 1x3x8 Stripping cut into smaller pieces to use as supports (ours were approximately 6 inches)
- Lumber the length and width of current bed (we used 2x4x16 to add an extra 4” all the way around)
- Handheld Saw
- 3” Deck Screws for securing corners of the bed
Step 1: Measure Twice and Cut Once
Use the tape measure to measure length and width of current raised beds.
Cut the lumber to the lengths you need using the hand saw.
We used 4 of the 2x4x16 uncut. And we cut one of the 2x4x16 pieces into four 4 foot lengths.
Step 2: Cut Supports
Cut the 1x3x8 stripping pieces into about approximately 6 inch pieces (this may vary for your raised bed)

We used 2 supports for each 4 foot section and 4 supports for each 16 foot section.
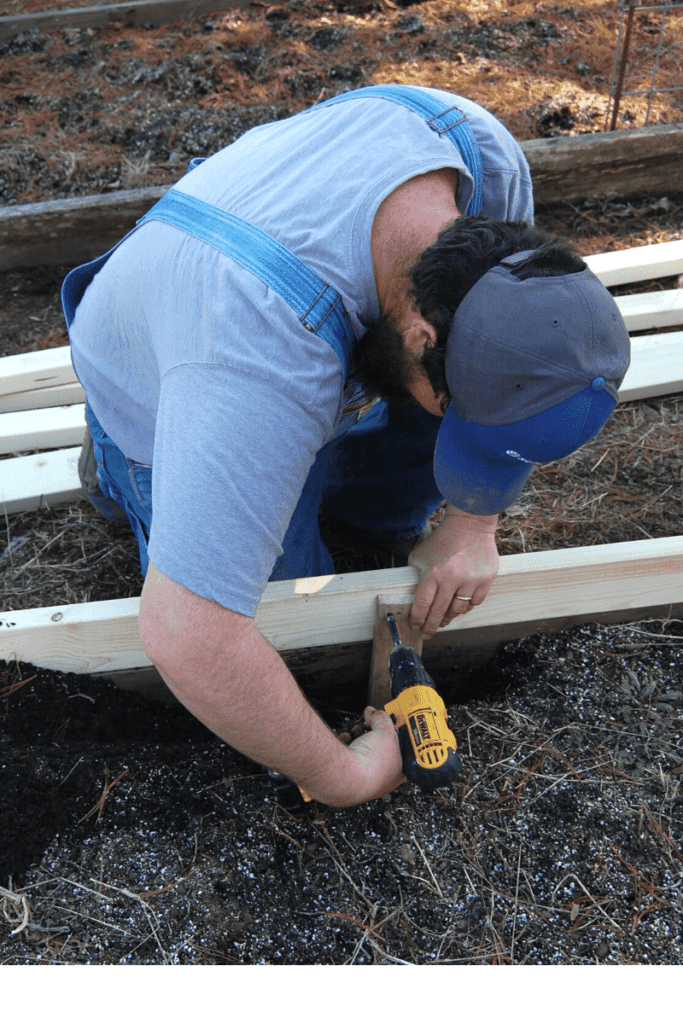
Step 3: Line Up New Sides With Current Sides
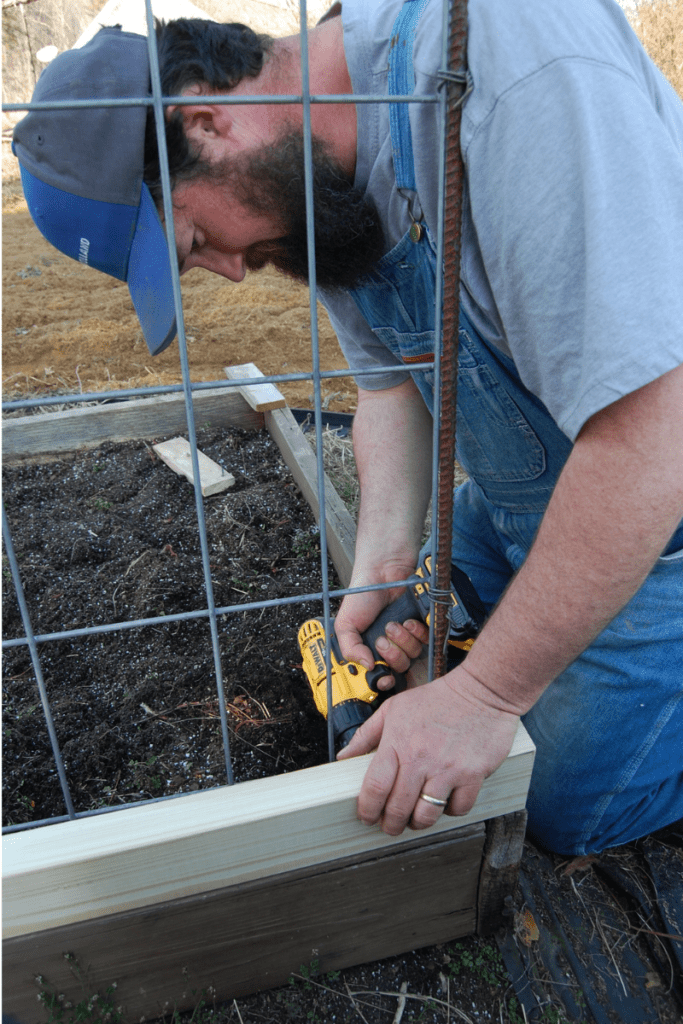
Depending on how long the beds are, this may be a two person job. Line up the new sides with the current sides and begin screwing in the supports with the 1 5/8” deck screws. We screwed the supports on the inside of the beds. Make sure the supports cover enough area on both the new and old boards to actually provide the support the boards need.
The number of supports you use will vary, based on the lengths of your sides.
Step 4: Secure the Corners
Once all the supports are in place on all four sides of the bed, it is time to secure the corners. Using the 3” deck screws, screw the corners together. This will give the bed great support.
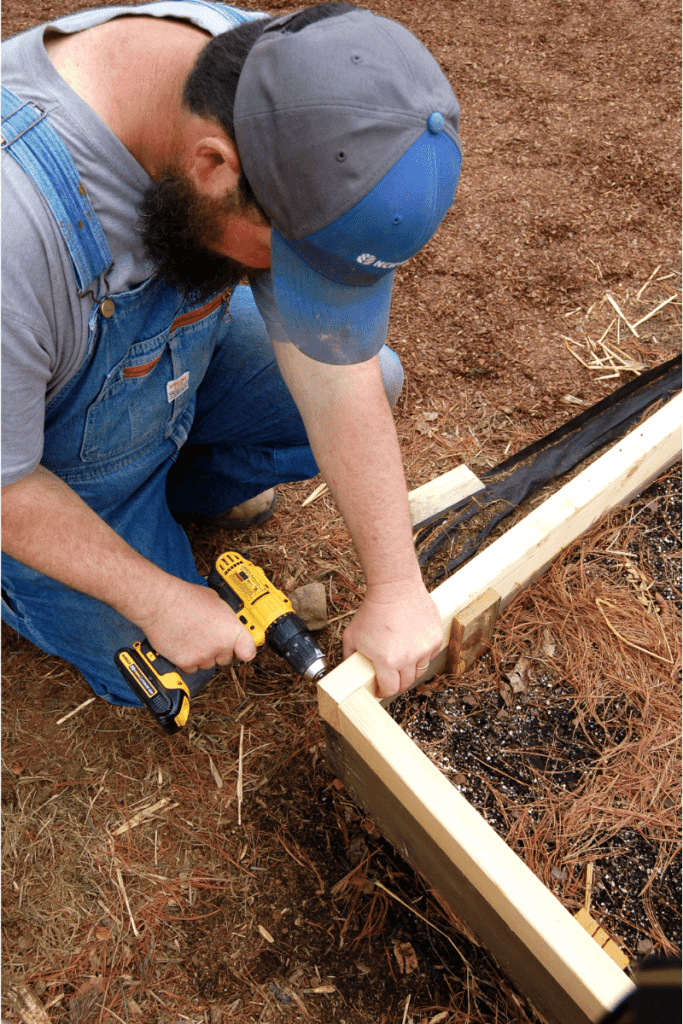
Completed Raised Garden Bed With New Height
Here is the completed raised bed with the adjusted height. You can see the supports used to help hold up the new boards securely.

Adjusting the height of your raised garden beds is simple and not too time consuming, but we are really hoping to see an improvement in the harvest this year!

Ready to fill these up with dirt and start planting! It’s still too early to start planting outside here. But to help get a jump start on the growing season we started some seeds indoors inside egg shells.
Awesome tips!! We are trying container gardening this year!
Container gardening can be great for any space! I hope you enjoy this growing season!