
Starting seeds indoors using egg shells can help you get a jump on the growing season while waiting for warmer temperatures.

Where I live we can have frosts and freezes up until mid May. In my area it’s best to wait until after Mother’s Day to plant seeds and young plants. But there are always some warm days in April and even March. Days that make you think it could possibly be safe to go ahead and plant now. In this situation, and many others, it’s best to listen to the wisdom of older farmers. Just wait. One thing you can do to make the waiting easier is start some seeds indoors.
What’s one no waste, free way to start seeds indoors? Egg shells! Using egg shells is a great way to start seeds indoors. Once temperatures warm up, you can plant the entire shell in the ground!
Collecting Egg Shells for Starting Seeds Indoors
We have backyard chickens so we typically eat quite a few eggs. When making scrambled eggs, frittatas, or another egg recipe, try cracking the eggshell towards the top. Gently crack open the shell without completely destroying it, making a hole at the top, or pointy end. Save these shells until you’re ready to start planting.
Preparing Egg Shells for Starting Seeds
If you live in an area with lots of critters that roam at night, it is probably best to carefully wash out the eggshells. The smell of the raw eggs could attract critters who will tear up your plants once planted in your garden. All your hard work would go to waste.

One of the first years we used this method, my dog completely destroyed every plant in efforts to get to the shells once they were planted in our garden. Of course she did it when no one was around, so there was no way of stopping her. By the time I realized what had happened, the raised bed was filled with shredded plants, the remnants of eggshells, and one very guilty looking dog. All of my efforts to get a jump start on the growing season were completely demolished! To say I was disappointed would be an understatement. So learn from my mistakes and wash out the shells.
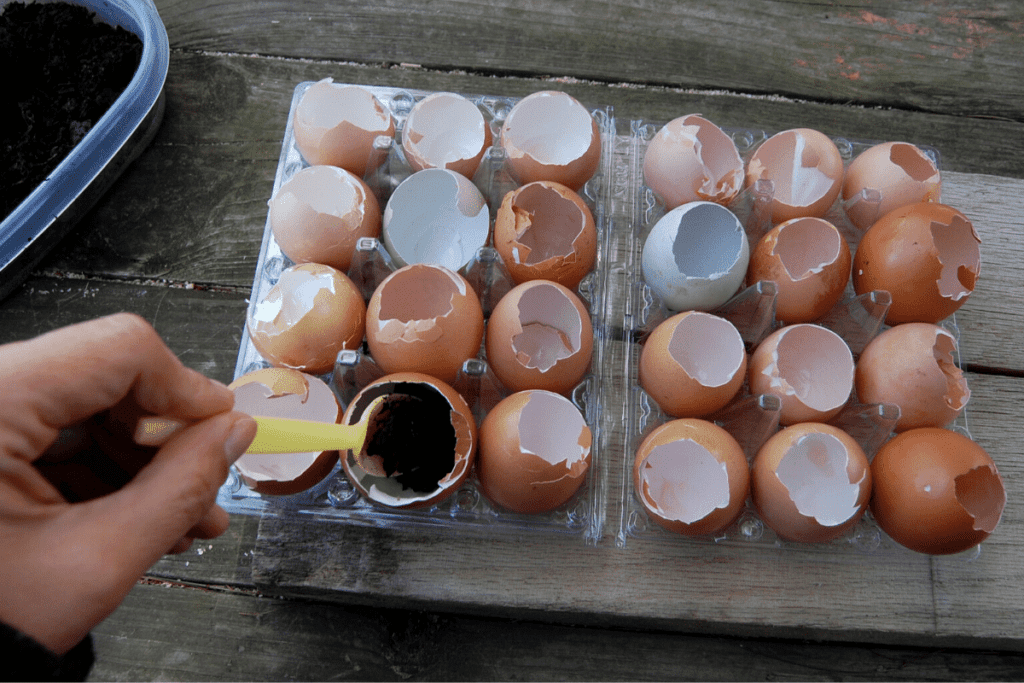
Filling the Egg Shells with Soil
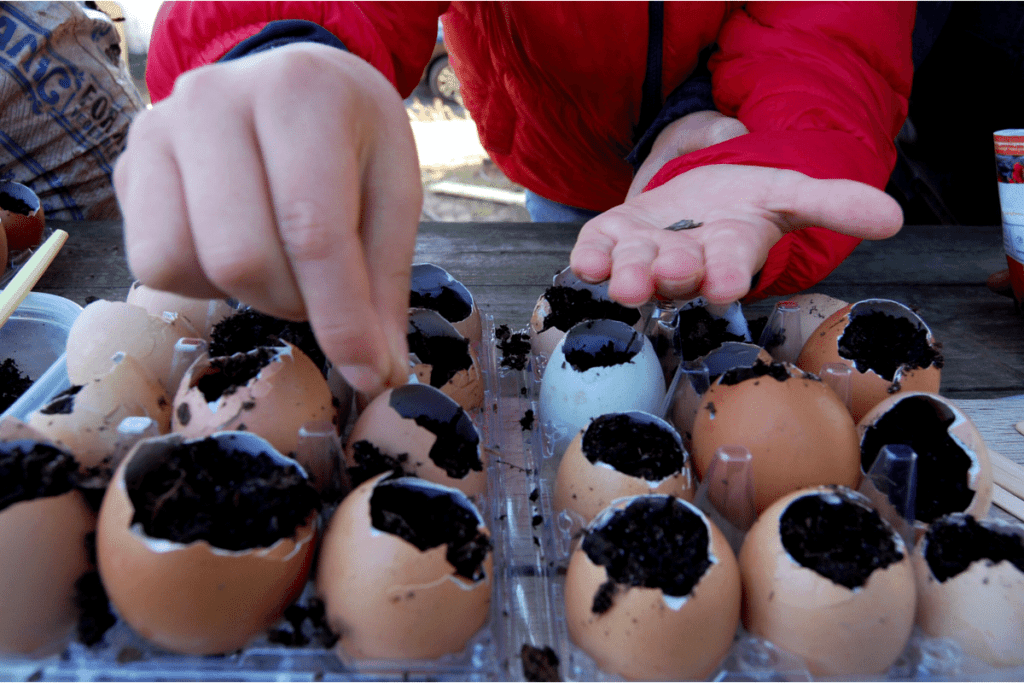
Put the egg shells with the hole facing up in an egg carton. Fill the shells with a nice, loose potting soil. Soil that will hold some moisture while providing nutrients to your seeds. I’m sure your local garden supply store will be happy to help you make the right selection. Be sure to fill the eggs with soil not pack them. You want to make sure the young roots will have plenty of room to grow and spread out.
Adding the Seeds
Once the shells are filled with soil, add the seeds. I would add 2 or 3 seeds to each shell. Some seeds might be duds. If all the seeds do begin to sprout, you can thin them if necessary.
Watering Your Seeds Inside the Egg Shells
It is important to water your seeds before and after they sprout. But it’s also important not to drown them! I’ve found the easiest way to water your seeds is with a spray bottle. Just a few spritz of water should do the trick. I try to make sure there is enough moisture to keep the soil slightly damp, but not enough that there is standing water in the soil.
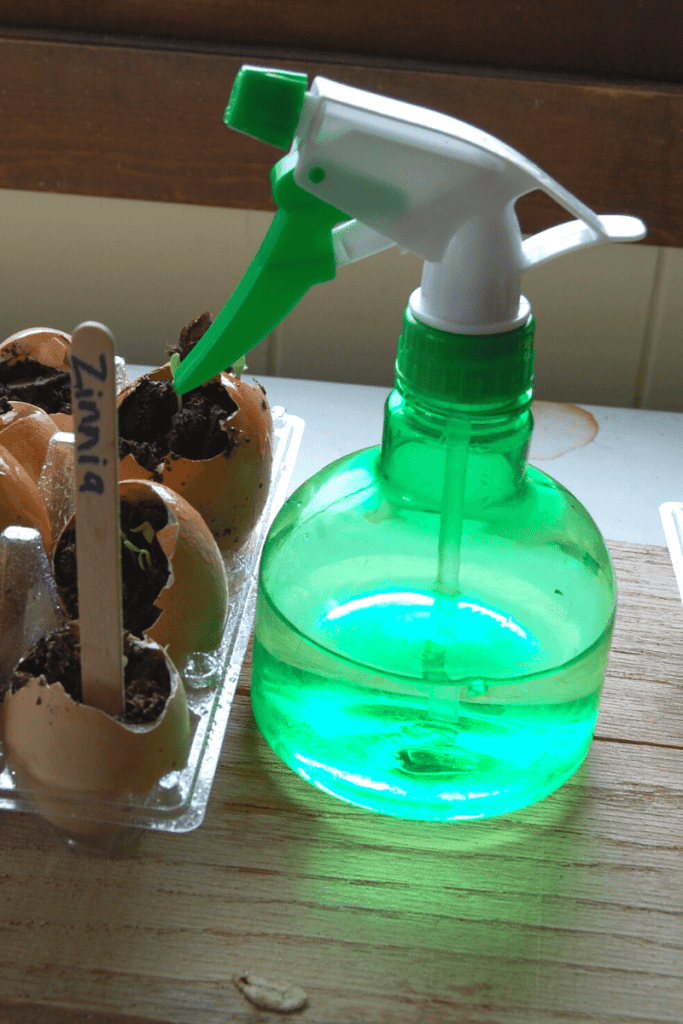
Don’t Forget to Label Your Egg Shells
I always think I’ll remember what I planted and where, but I never do. And I often have a hard time distinguishing one plant from another when the plants are very young. just use a small popsicle stick and a permanent marker to label each row of seeds.

Choose the Best Indoor Location for Growth
Soil, water, and sunlight are the three main ingredients for growing plants. We’ve already covered the soil and water, so let’s focus on the sunlight. Find a well lit spot for your little seeds. Just make sure the seeds don’t get too much direct sunlight. Too much direct sunlight could burn up your young plants. We want these plants to be as healthy as possible when they make their way outside.
Depending on the type of seed you planted, you will see growth in a matter of days!

Transplanting Your Egg Shells Outside
Starting seeds indoors in egg shells is a great way to have strong plants to transplant into your garden at the beginning of the growing season. When it is safe to plant outdoors, let your shells sit in the carton outside on the porch for a day or two while they acclimate to the outside temperatures. Pick the location you want to transfer your plants. Dig a hole slightly deeper than the egg shell. Put some water in the hole. I usually give the egg shell a little squeeze to crack it a little down the sides. This will ensure the plant won’t become root bound as it grows. Put the egg shell in the hole, and loosely cover the egg shell with soil. As the plants continue to grow the egg shells will decompose, adding extra nutrients to the soil.
Some Plants Do Not Like to be Transplanted
Radishes, peas, turnips, and spinach have a more fragile root system than other plants. It is best to wait and plant these directly into the garden. So be sure not to plant these when starting seeds indoors in eggshells.
What Plants Do You Like to Start Indoors?
Let me know in the comments!
Very clever!
How cool is that!
I am going to have to try this! I always feel bad throwing away my egg shells!