
Follow these simple instructions for an easy DIY raised bed and you will be ready to start gardening in no time!
There are so many great reasons to make your own raised beds for gardening. Less weeds. Weeds that are easier to pull. Confined, designated space for specific plants. The list goes on!

You can use raised beds for flowers or for veggies and fruits. There are numerous kits or pre-made raised beds that you can buy. But building a raised bed might be easier than you think. If you build your own you can customize it to fit in any space.
If you are building a raised bed for fruits or veggies, it’s important to use wood that has not been pressure treated. The chemicals used to pressure treat the wood can seep into the soil. The roots of your plants can soak that up and be introduced to your produce.
Preparing the Area for Raised Beds
Some raised beds are built with a bottom. Some are not. If your raised bed doesn’t have a bottom then getting the ground ready for them is important. If you are making larger raised beds, you really want the ground to be as level as possible. Mark makes a few passes of the ground with a tiller, and then we rake the area until it is pretty flat.
Next, you’ll probably want to lay down some sort of landscape fabric to prevent weeds from growing in your raised beds. In my opinion, one of the greatest things about raised beds is the lack of weeds, so you definitely don’t want to skip this step! The landscape fabric will prevent weeds from growing up from under your raised beds, but it will still allow water to pass through the fabric so the soil in the raised bed can drain properly.
Supplies for DIY Raised Beds
This post contains affiliate links, and as an Amazon Associate I earn a small commission from qualifying purchases at no extra cost to you. See my full disclosure here.
When constructing raised beds the first things you need to consider is what you are planting in your raised bed and how much space you need.
Once you’ve determined that, you can gather your supplies. We will be constructing beds that are 2 feet wide and 4 feet long. These beds will be for Goose and Buddy. Last year we converted pallets into beds for them so they could have their own little gardens. They enjoyed it so much, this year they are getting an upgrade!
One of my favorite quotes is “Start where you are. Use what you have. Do what you can.” – Arthur Ashe. This quote helps me have perspective and encourages me to continue on when things seem overwhelming. It also reminds me to be resourceful. So instead of buying lumber for this project, we’re using leftover materials.
Last summer Mark had a blacksmith shop constructed on our property. There were some extra building materials leftover. So we will be using some leftover smart siding. We are using 1x8x16 pieces of smart siding for the sides of the raised bed. And we are using 2×6 smart siding for the supports.
In addition to the lumber for the sides and supports you will also need:
- 20 Volt Lithium Dewalt Drill
- Tape Measure
- 1 1/4” Deck Screws for attaching supports to the sides of the bed
- Saw (Mark uses a simple handheld saw)
Building the Raised Bed
First, measure the smart siding boards (or whatever type of lumber you’re using) for the raised bed. We need 4 boards that are 4 feet long and 4 boards that are 2 feet long.
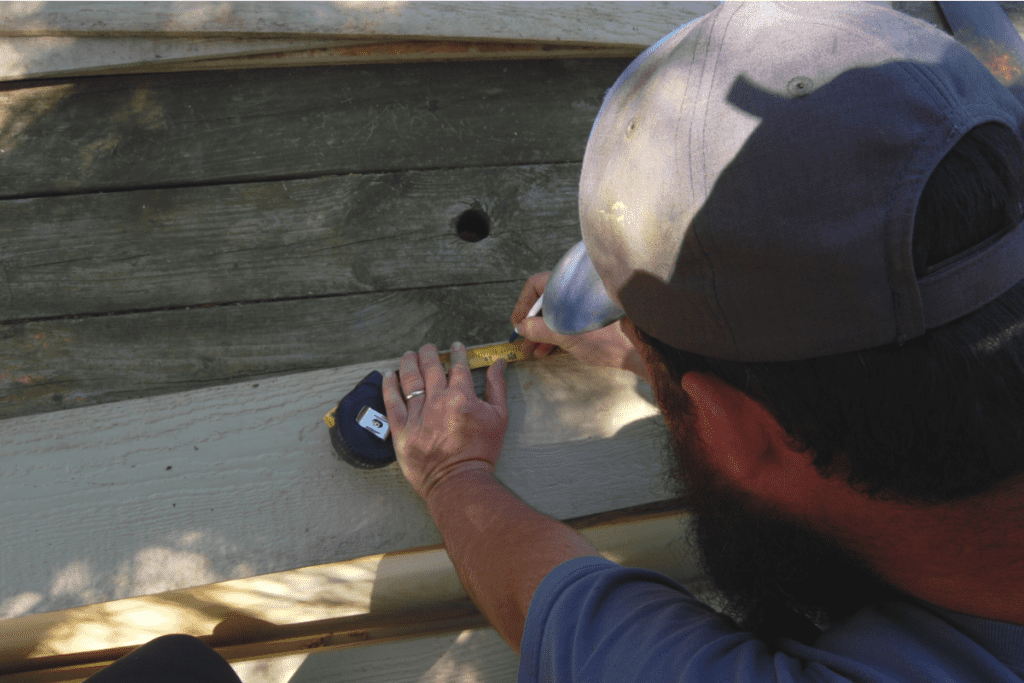
Then cut the boards. Mark is using a handheld saw for this.

Measure and cut the boards for the supports. Our completed bed will be 16 inches tall. So the supports will be 16 inches long. Then the supports will be flush with the top of the finished beds.
Using the drill and deck screws attach the longer sides to the supports.
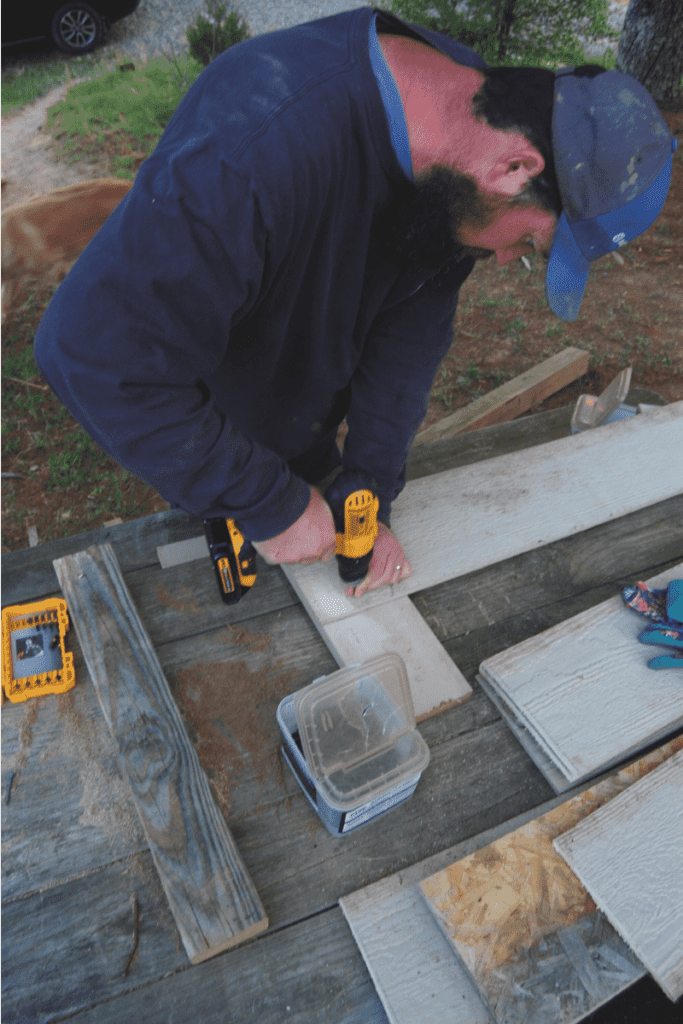
Next, attach the supports to both ends of the long sides of the raised beds.

The supports will provide a strong frame for the bed.

Then line up the end of the short side with the end of the long side to form a corner. Use the drill and screws to secure the corner.

Once all 4 corners are secure, you are done!

This project did not take a lot of time to complete, but we did have quite a few interruptions. There’s never a dull moment in our backyard! We finally finished this project after putting the baby to bed. Not all days in the garden go as smoothly as planned. Check out some of our tips and tricks for gardening with kids.
Filling the Raised Bed With Soil
One draw back to raised beds is buying dirt. Personally, I have a hard time spending hard earned money on dirt. Literally dirt. We live in a rural area. There is dirt everywhere!
While I have a hard time spending money on dirt, I do know that it is essential for great growing veggies and flowers. We always try to get soil that is good for raised beds. The soil we’re using this year even includes worm castings. Your local garden supply shop would be happy to help you make the right selection.

Some people use dirt from their compost to fill in the raised beds. This is a great idea. too!
Depending on the size of your beds and the size of your compost you may still need to purchase some dirt to have enough to fill the beds.

Currently, we do not compost. I would like to start one at some point, but right now our chickens eat most of our scraps. If you’re curious about our backyard chickens or would like to have your own, here’s some more info on backyard chickens.
Ready to Plant
Now that your raised beds are constructed and filled with dirt, you are ready to plant!

Our Raised Bed Mistakes
We started using raised beds about 3 years ago with great success! But there is always room for improvement! Read about how we fixed our mistake by adjusting the height of the raised beds.
Leave a Reply